
Sugar Plum Quilt Sew Along - Week 2 - Cutting
Hi Everyone! It's week 2 of our Sugar Plum Quilt Sew Along. Today we will talk about cutting the pieces.

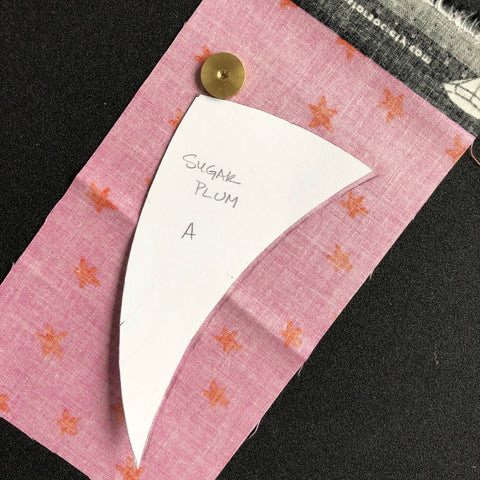
If you have the template set, you will simply trace around or use a rotary cutter to carefully cut around the templates. I placed my template on the wrong side of my fabric with the lettering facing up. Be consistent in how you choose to place the templates on your fabric. The paper pattern shows the grain line for correct template placement.
Once you have traced or cut around the acrylic template, you will need to mark the register holes on your fabric. To mark the 1/4" seam allowance you will need to connect the dots.

Connecting the register dots is a piece of cake on a straight edge. Use the straight edge of the template or an acrylic ruler to mark a 1/4" seam allowance.
In the Sugar Plum block, there are lots of curves! Marking the quarter inch seam allowance on a curve is just a bit trickier. The easiest way to do this is to use the piece that "fits" to the curve to mark your quarter inch seam. Let's take the center spiral as an example. For the convex side of the spiral segment, you use the concave side of the spiral template to mark that curve.

And then for the concave portion of the spiral segment, you will use the convex portion of the template.

Finally, for the top of the spiral, you will use the piece from the outer ring that "fits" to the spiral center.

You can easily mark the curves this way. For the large curve on the background template, move the "B" piece along the curve to mark.


I have a YouTube video that may help with marking and cutting.
And if you would like a set of the templates, you can purchase them from Paper Pieces.
To make your own templates, you will need Quilter's Template Plastic or Cardboard. I would suggest copying the paper template sheet at 100% on your home printer so you aren't cutting or marking your pattern.
If you are using Quilter's Template Plastic, place the plastic on top of the template sheet. Trace the shapes on the solid line. This is your sew line. Carefully cut out the shapes. If you are using cardboard, you can cut the printed copy of the templates on the solid line and glue the shapes to cardboard or card stock. Carefully, cut out the shapes.
Use your template to trace the shape on the wrong side of your fabric. The traced line is the sew line. You will need to add or "eyeball" a quarter inch seam allowance. If you have a quarter inch wheel, run the wheel along the edge of the template with a pencil to add the quarter inch seam allowance.
Another way to add the quarter inch seam allowance is to use an acrylic ruler to mark dots or dashes a quarter inch away from the sew line. Then connect the marks. This will be the line you use to cut out your shape.

You can also eyeball the quarter inch seam allowance when cutting out the shape. The stitching is done on the sew line.
I have a YouTube post to help with making your own templates with plastic. And a YouTube post to help with making your templates from cardboard.
There are so many great tutorials on YouTube from other quilters! I would suggest looking at videos from Wendy Welsh and Kristin Esser. Lastly, Carolyn Forster's book, Hand Pieced Quilts is a fabulous resource.
I hope this helps with the cutting! Of course, for the center spiral, you will need 6 colorful segments and 6 neutral or lightly patterned segments. And for the outer ring, you will cut 12 colorful pieces and 12 neutral. Refer to the pattern or template set for the template piece that coordinates with the block.
Finally, I want to share with you some block examples provided by Judy Newman! Aren't they wonderful!


