
Sunny Stocking Sew Along 2022
It's that time of year again! When we celebrate a month of Sunny Stocking making! This year I designed a new stocking using an old favorite - the 9 Patch!

Let's get started. You will need to gather scraps for your 9 Patch - at least 1.5" square. And 1 fat quarter of fabric for the exterior back (perhaps a 1/2 yard if your fabric is directional) and 1/2 yard for the lining. For the background of the front exterior, you will need about a 1/4 yard of fabric.
You will be making (20) 9 Patch blocks. You can make each block unique or repeat colors/fabrics. For each 9 Patch cut 4 - print squares, measuring 1.5" square and 5 background squares, measuring 1.5" square.
The 9 Patch is created by sewing 3 squares in 3 rows. Row one is a background + print + background, Row two is a print + a background + a print, Row three is a background + a print + a background. Press seams toward the dark print. Sew the three rows together to create a 9 Patch. Your 9 Patch should measure 3.5" square.

Your blocks will be arranged as pictured (add more blocks if you are using a larger stocking template or would like more wiggle-room).

Cut sashing strips 1" x 3.5" and add a sashing strip to the bottom of each block that connects to a block below it. Add a sashing strip (1") between the diagonal rows of blocks. See photo. Place your stocking template on top of the completed 9 Patch panel so that the 9 Patch block is on point. It should appear as an X rather than as a cross. Note that I offset the blocks in the diagonal rows. The center of the block in each row will be straddling the sashing in the row next to it.
**If you plan to have your stocking face the other direction, you will need to flip the arrangement of the blocks**
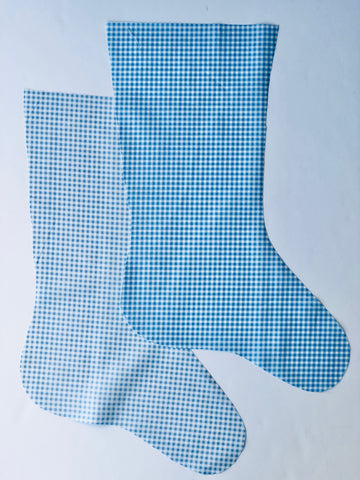
Pin and cut out the stocking front, following the template. Layer a piece of cotton batting under the stocking front and quilt. Repeat for the stocking back (Remember to flip the stocking template when you cut out the back of the stocking). I used a gingham piece of fabric for my stocking back.


For the lining cut out a front and back. You will not need to quilt or layer the lining with batting.
Add a loop for hanging your stocking. Baste the loop to the front of the stocking- raw edges together.

Take the front of your stocking and the corresponding lining piece, stitch along the top edge only. Repeat for the back of the stocking and corresponding lining piece. Be sure that on the front your loop for hanging is sandwiched in between so that only the raw edge is in the seam allowance.

Press the seam allowance toward the lining.
Lay the front stocking and lining unit on top of the back and lining unit, right sides facing. Pin around the stocking and leave an opening of about 3" in the lining for turning right side out.

Using a quarter inch seam allowance, stitch around your stocking. Turn right side out through the opening and press. Hand stitch or machine stitch the opening.
Now stuff your new stocking full of goodies and enjoy!
Be sure to use the #sunnystockingsal when you post your stocking! Thank you for sewing along!

Stockings from Christmas Past!
Templates :
Half Pint Stocking - smaller stocking shape